
- January 16, 2024
- by Shahriar Kabir
How to Add an ‘Agree to Terms and Conditions’ Checkbox in Shopify Cart (without APP)
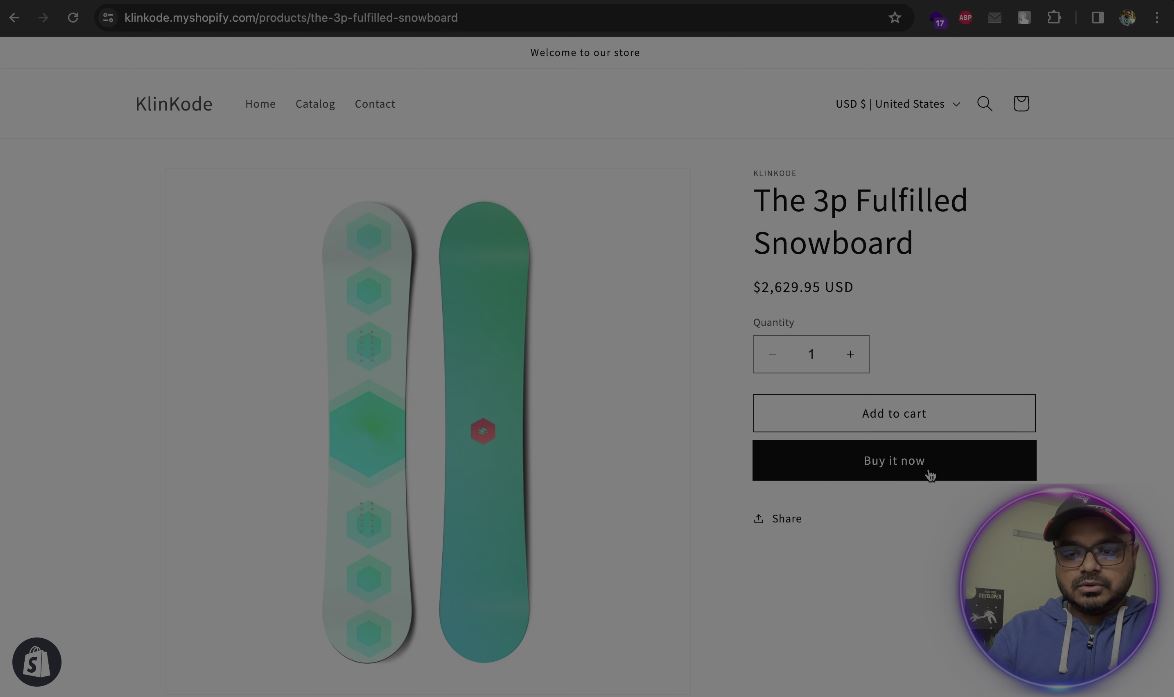
Adding an ‘Agree to Terms and Conditions’ checkbox to the cart page is a crucial step for any Shopify store. It ensures customers are aware of and agree to your terms before purchasing, which is important for legal compliance and transparency. In this tutorial, we will use Shopify’s Dawn theme as our example, but the process is similar for most Shopify themes.
Prerequisites
- Basic understanding of HTML and JavaScript.
- Access to your Shopify store’s admin panel.
- Any Shopify theme (we’ll use Dawn as an example).
If you prefer video tutorials over text, feel free to skip this post and watch the video below. If not, please continue reading.
 Join Our Free Shopify Support Group
Step 1: Accessing Your Theme Code
- Log in to your Shopify admin.
- Go to ‘Online Store’ > ‘Themes’.
- Find your theme (Dawn, in our example), click ‘Actions’, and then ‘Edit code’.
Step 2: Locating the Cart Template
In the Dawn theme, the relevant file is main-cart-footer.liquid in the ‘Sections’ folder. For other themes, look for a similar cart template file, often named cart.liquid, cart-template.liquid, or something similar.
Step 3: Adding the Checkbox HTML
- Open the cart template file (e.g.,
main-cart-footer.liquidin Dawn). - Locate the section where the checkout button is.
- Insert the following HTML for the checkbox:
<div class="agree-to-terms" style="text-align:right;">
  <input type="checkbox" id="agree" name="agree">
  <label for="agree">I agree to the <a href="/pages/terms" target="_blank">Terms and Conditions</a></label>
</div>/pages/terms with the URL of your terms and conditions page. Step 4: Adding JavaScript for Checkbox Control
Now, we need to add a JavaScript snippet to enable or disable the checkout button based on the checkbox’s state. Place this script at the end of the cart template file (e.g., main-cart-footer.liquid in Dawn):
<script>
  document.addEventListener("DOMContentLoaded", function() {
    var agreeCheckbox = document.getElementById('agree');
    var checkoutButton = document.getElementById('checkout');

    // Disable the checkout button initially
    checkoutButton.disabled = true;

    agreeCheckbox.addEventListener('change', function() {
      checkoutButton.disabled = !this.checked;
    });
  });
</script>
This script disables the checkout button by default and toggles its enabled state based on whether the checkbox is checked.
Step 5: Testing and Adjustments
- Save your changes.
- Test the functionality on your cart page. Ensure the checkout button is disabled initially and becomes enabled only when the checkbox is checked.
- If the button doesn’t behave as expected, revisit the script and HTML to ensure they’re correctly implemented.
Conclusion
You have successfully added an ‘Agree to Terms and Conditions’ checkbox to your Shopify cart page. This feature is not just about compliance, but also about building trust with your customers. While we used the Dawn theme for this example, the principles apply across most Shopify themes with minor adjustments.
Additional Tips
- Always backup your theme before making changes.
- Test extensively across different devices and browsers.
- Style your checkbox and label to match your store’s design.
- Consult legal advice to ensure your terms are enforceable.
This tutorial provides a solid foundation for Shopify store owners, even beginners, to enhance their store functionality while adhering to best practices in e-commerce.
Have you tried this customization? How did it work for your store? Let us know in the comments below!

Comments (6)
Amy Krahenbuhl
April 12, 2024 - 1:29 amThank you for the tutorial. It was easy to follow and I was able to add them to checkout. How do I insert terms and conditions to the link I just created?
Shahriar Kabir
May 5, 2024 - 7:28 pmSorry I don’t understand your question. Could you please use our contact page to send your question with screenshot?
Svaroop
June 18, 2024 - 1:40 amHow can I capture this input in the order infirmation
Shahriar Kabir
June 26, 2024 - 3:53 pmAre you referring to the checkout page? You can only modify it if you’re a Shopify Plus user or use an app.
Joseph
June 26, 2024 - 7:10 amHey, Shahriar.
Thank you for the great tip.
One problem – the “I agree” message is shown even if the cart is empty. Is there a fix?
Shahriar Kabir
June 26, 2024 - 3:52 pmYes, you can modify the liquid code to conditionally display it only when the cart object is not empty.